Showing posts with label Embroidery. Show all posts

Thursday, August 25, 2011

Recycling and repairing

 My husband's jeans had a hole that was growing and growing like a cancer in my soul.  It was getting a wee bit ruuuuude and the jeans were about to be thrown out.  The problem was they were still sturdy and stout in other places, and he still liked wearing them.

So I thought time to put your money where your mouth is and repair them in such a way that they become more loved and have more meaning.  So here is what I did.

A little patch on the back to add strength and durability, hand sewn on so that the stitches did not show on the other side.

And a rather naive fish with stars in the sky cos of all the nights he has spent out fishing.  Love you my darling.

Tuesday, August 23, 2011

Embroidery Students

Hallo my darlings, especially my embroidery loving darlings, who have been busy working away on their projects.

 Look at what this darling has done!  I am so proud of her, and I can't wait to see what her embroidery looks like when it is finished.  
 Here are some gorgeous pieces made by another student, although I think she has done embroidery before, but our little group has encouraged her to make these lovely gifts rather than going out and buying something.
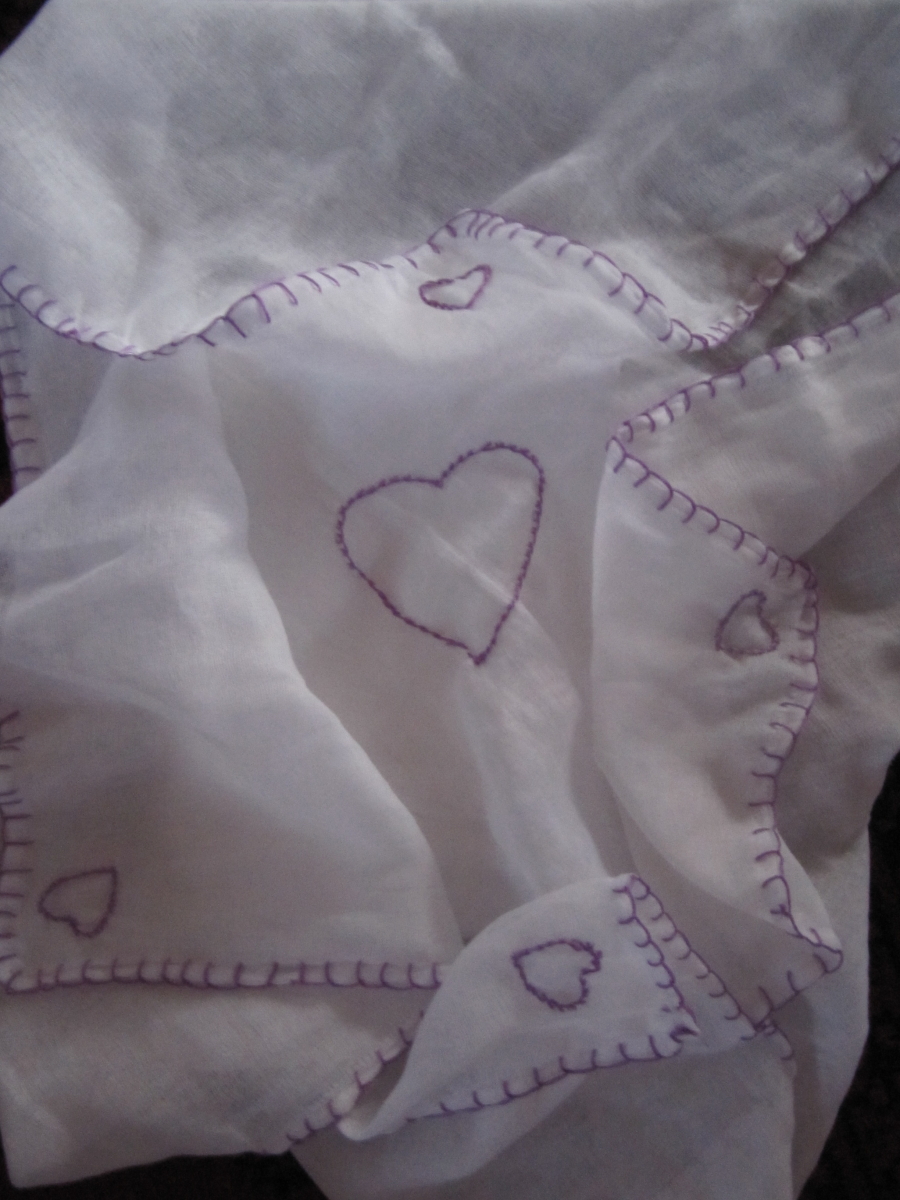
 These are soft muslin baby flannels, so much nicer than Baby Wipes.  Aren't they gorgeous?
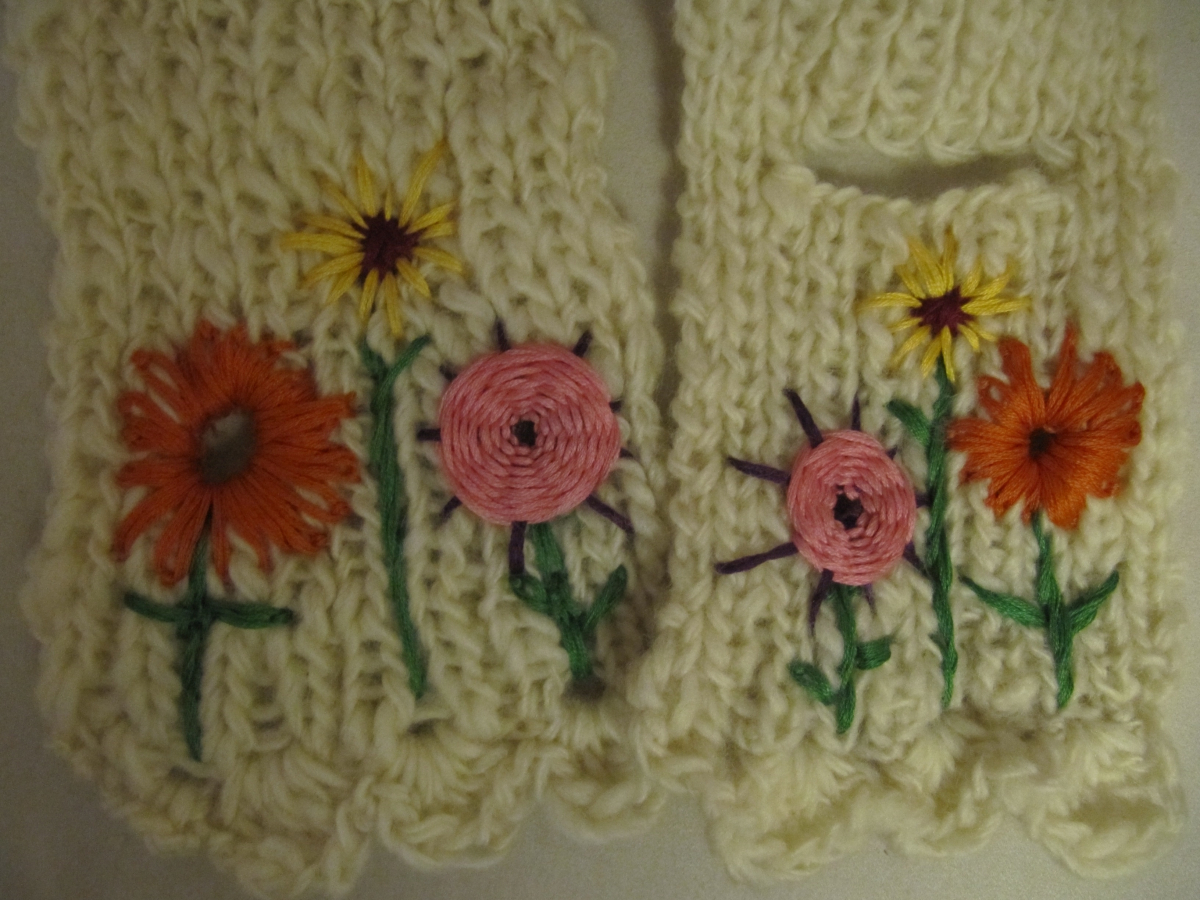
 And finally, (yes she has been a busy girl), this little scarf, made for a gorgeous little 1 year old darling.

With these lively embroidered flowers.  Well done my talented, creative friend, I love what you have done and can't wait to see what you do next.

So a quick message to all those involved in The Embroidery Project Number 1.  If you want to be illegible for the prize, you have until Wednesday the 31st of August to get a photo of your finished embroidery into me.  This first project will be judged on the execution of stitches, use of colours and tidiness of work overall.  Have fun!  If you haven't got my email address, to send the photo to, message me on Facebook and I will send it out to you.

Thursday, August 18, 2011

The Embroidery Project: Number 1

 This is my sampler showing all that I expect for this first project, 3-5 outline stitches.  So don't get put off by thinking your first attempt has to be too fancy, as you can see mine is not.


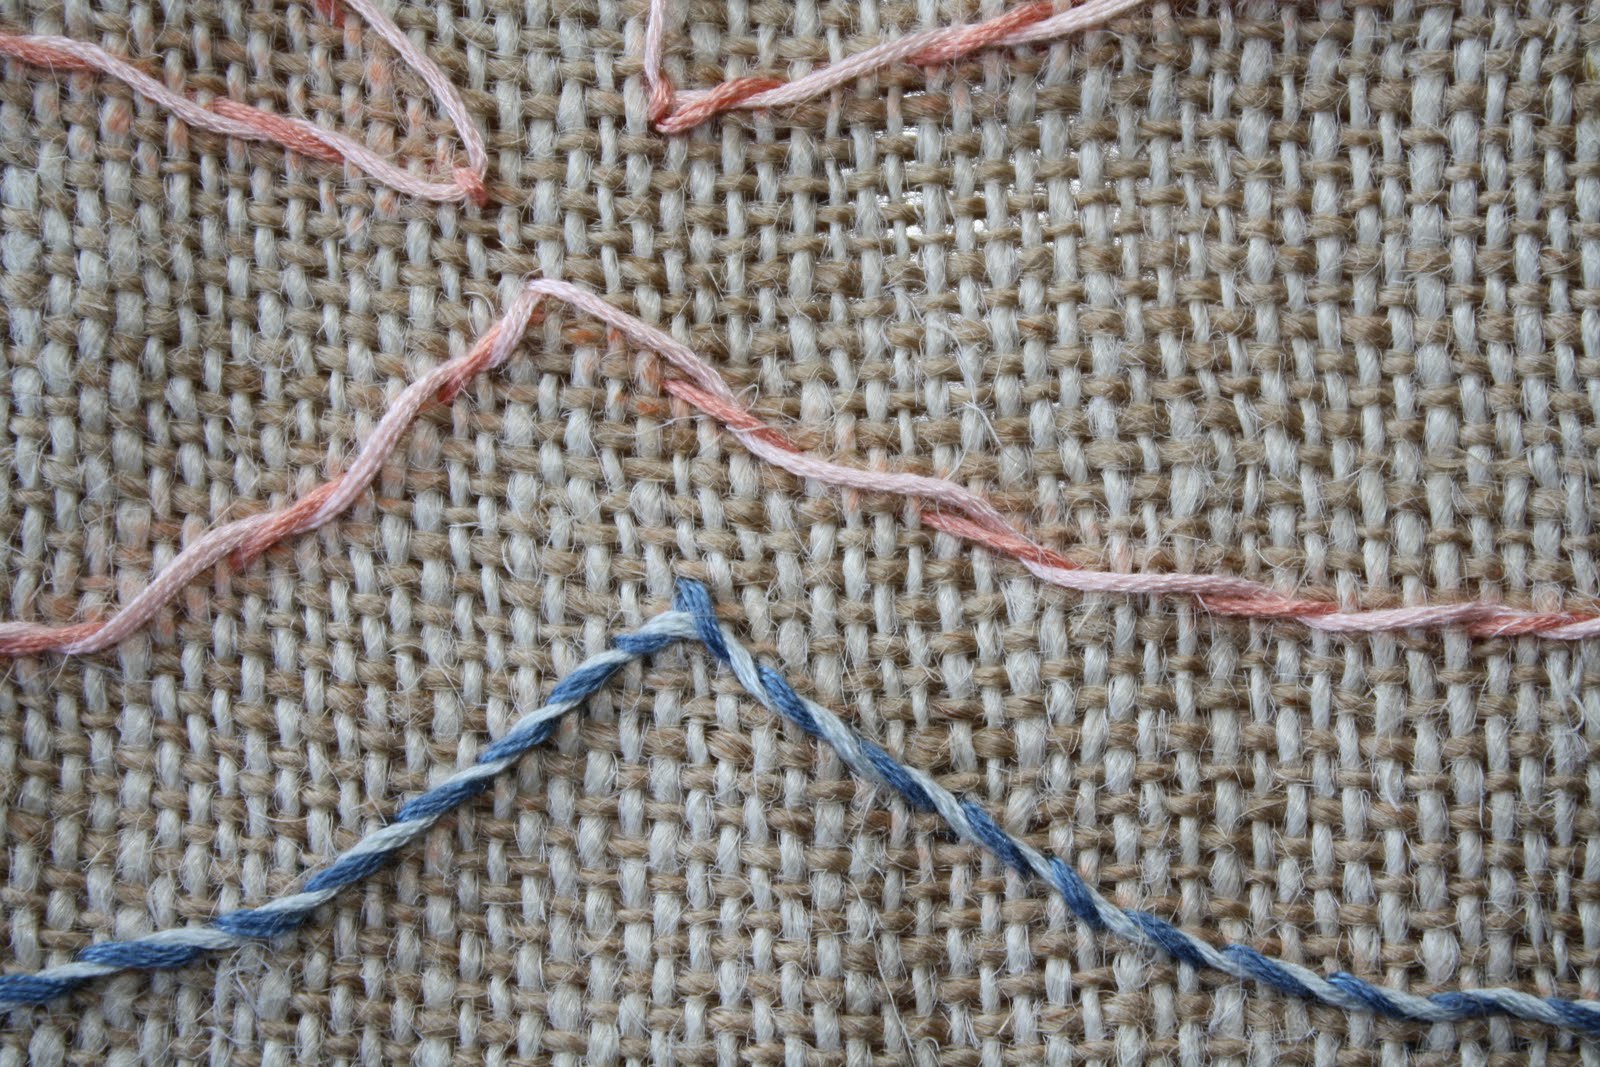
This is a simple running stitch, a really good one for you to do Isabelle.

 The pink one is a whipped running stitch and the blue one is a whipped backstitch, both stitches are illustrated on Mary Corbet's Needle and Thread website that I have previously given links to.


 Blanket Stitch around the edge.


Chain Stitch, I love this stitch.


 The filling stitch for this leaf is called lattice work, there is a video for how to do it on Mary's site.

 Do you remember this wonderful piece of embroidery I showed you a few days ago.

 Look closely at the flower in the centre.
 It has the same lattice stitch in the centre, with French knots in the centre of each lattice square.

So goodbye for now my precious darlings, and let us continue to be inspired by all that is beautiful around us.

Wednesday, August 10, 2011

Birthday Embroidery Clown

 Last weekend I was asked if I could come to a birthday party and teach the guests some embroidery, so that they would all go home with something they had made.  Kind of the Birthday Embroidery Clown.
 I gathered up some of my stash, threads, hessian, needles, and some examples of embroidery to show the birthday guests, so that they would get an idea of the huge range of embroidery that there is.

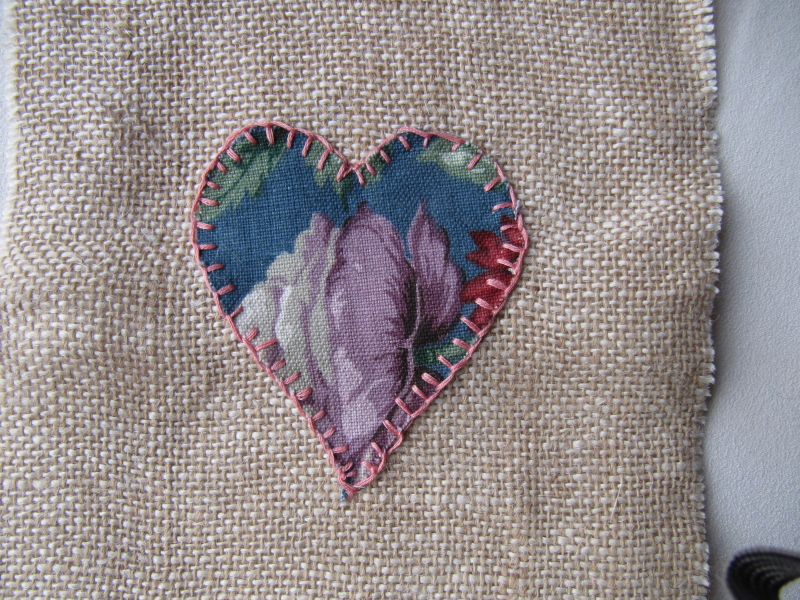
It was decided that everyone would work a heart, either the outline of a heart in an outline stitch or an aplique heart edged with blanket stitch.  As everyone focussed on what they were doing the room went quiet and the air filled with the quiet throb of creativity.  It was wonderful.

Some of the finished examples of first attempts at embroidery.
Aren't they wonderful?

And then it was off to partake of the most divine afternoon tea, with a perfectly laid table full of the most delectable goodies.
We all felt loved and cherished once again by my most precious and valuable friend. 

 Thank you so much my darling for all the energy and time you give so willingly.

Friday, July 29, 2011

First Embroidery Project

Well my precious creative darlings I have good news for those of you who have chosen to undertake the embroidery classes, a little pack of goodies is on the way.  Now it's up to you, if you apply yourselves, you will gain the development of new skills, so that you will become more than just consumers, you will become craftspeople who can make things for themselves, and if you persevere and are persistent in your pursuit of perfection.  You will become a skilled craftsman, an artisan.
  
I know that was a really long sentence.

 I have posted out your first challenge, in the pack you will find a card with a selection of different coloured embroidery threads, a piece of hessian fabric, and a couple of needles.

The needles are crewel needles.  To thread the needle, you need to wet the end of the thread and then flatten it by pulling it between your finger and thumb.


I am going to do this project too, cos the funny thing is, I have not done much embroidery myself so I am working alongside you learning as much as you are.  I am directing you rather than teaching, so it is going to be fun to see what we all do.  In the picture above you can see what I have done so far.  In this first project, which we could make into a pot holder if you like, (once we have finished our embroidery we can sew them up, and for those who can't get to my place, or don't have a sewing machine I can sew them up for you).

You might want to start by doing a buttonhole stitch around the edge of the fabric, and at this point I am worried I have not sent you enough thread, but if you run out, let me know and I can send you some more, I still have all the colours left.  If you don't want to do this you could just pull the threads to give a frayed edge that will look like a fringe.

Here is a link for an excellent video to show you how to do blanket stitch, or buttonhole stitch if the stitches are done really close together.


Then you could decide on a design, keep it simple, and draw it on the fabric if you want with a soft pencil.  Then you could sew around the design with this simple running stitch, (this would be a good one for Isabelle).  For the older students I would like to to use at least three of the outline stitches listed below as well.


You will find in your kits a piece of cord or sparkly thread which I have put in for you to use to practice this stitch, use the embroidery thread to couch the cord on.

Same as above just another way of looking at it.


So there you are, something to start with, and once you get on the tutorial website you will find all sorts of stuff that you might like to use, but this week keep to outline stitches.  Next week we will tackle some filling stitches.


 This is really exciting for me, and I can't wait to see what you all do, so have fun and here is a little warning from an avid sewer, it is really hard to find time to do sewing, there always seems to be something you have to do first, so set aside a time at the start of the day and stick to it.


xx zho zho

Saturday, July 9, 2011

The Little Girl's Sewing Book

A friend lent me this little book, The Little Girls Sewing Book, and although it does not have a publication date in it, the graphics and style suggest it is from the turn of the century.  When the Arts and Crafts Movement was a strong influence, and embroidery was still considered an important craft.  Although young girls were taught embroidery in schools at this time, it was also still passed from Mother to daughter as well.  These must have been precious times spent together don't you think as skills were passed on, colour preferences discussed, personal likes and dislikes learned, so much more meaningful than sitting and watching television together.


 The book has many embroidery projects in it.

The Lambkin bag could be a good starting project.


  Projects to make curtains, bed linen, and rugs for the doll house.


 With patterns and instructions for each project it is a wonderful resource and I thought we could work through some of the projects together.  So if you want to pick up some skills, let me know and we can start with one of the simple projects.  I can put together a little pack of the materials you will need and send them out to you, and then post about the steps as I work through it, and you can watch when you have the time and work on your sample.  Then when you are finished, we can post photographs of your finished project and we can all see how you went.  It would be a great thing for you and Izzy to do Carolyn, and a good way for you to start getting an understanding of embroidery Hannah Bananah so that you are ready for more complicated designs. 


This offer is open to anyone who reads this post, so if you are interested in joining in do let me know what you think and what you would like to do.